All Products
Door Knobs
Door Levers
Deadbolts
Handlesets
Smart Locks
Electronic Locks
All Smart Locks
Schlage Encode PlusTM
Schlage EncodeTM
Schlage Encode Lever
Schlage ArriveTM
Schlage ConnectTM
Style Overview
Contemporary
Transitional
Traditional
Design & Inspiration
The ultimate guide to choosing the perfect finish for your home.
Schlage offers 11 hardware finishes so you can find the perfect look for your whole house. Here are the styles and knobs/levers that go best with each
What is the meaning of home? Hint: It’s not just a place.
We have spent an unprecedented amount of time sheltering in place this year, which makes us wonder: What is the true meaning of home?
All Support
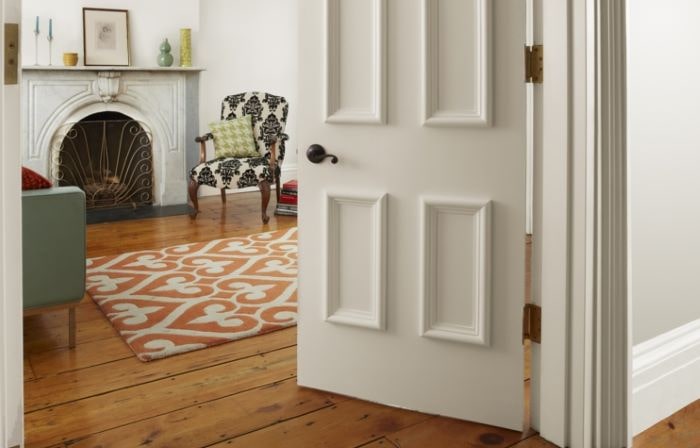
Make your hollow core doors look expensive on a budget.
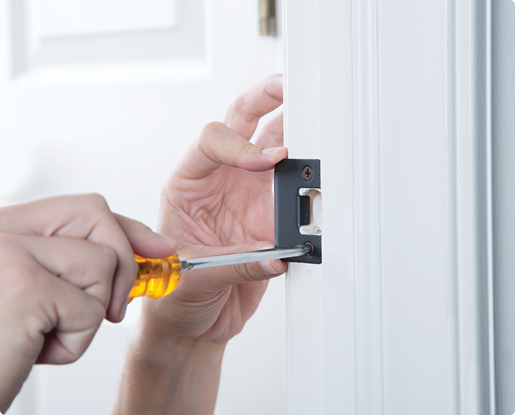
How to fix a squeaky door hinge.
How to mix hardware finishes the right way.
{{art.alttext}}
No matching articles found ...
{{pageNumber+1}} / {{pageCount}}