Color update: Tips for painting a room.
Friday, March 20, 2020

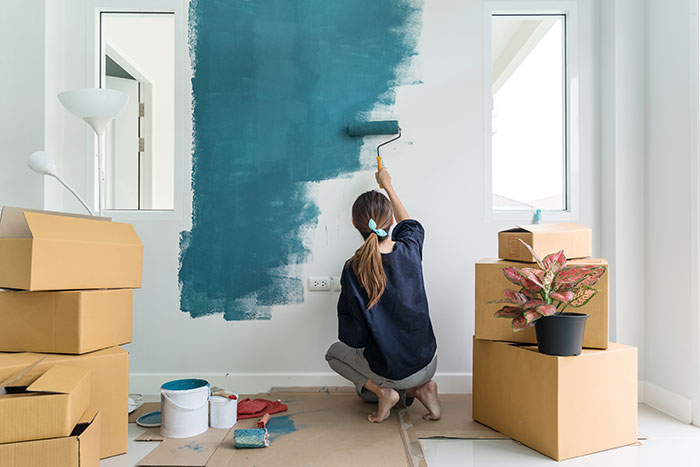
Painting. There are few single DIY projects that can make such a dramatic difference in your home. It’s also a very polarizing task. Do you choose neutral colors or go bold? Do you roll in straight lines or with the “W” technique? Do you paint the walls or the trim first? We collected tips and tricks for painting a room to help take the pain out of painting.
Choosing a color is fun … and hard
- Minimalists, fans of Scandinavian style or combatants of small spaces will want to stay on the lighter end of the color spectrum – whites, grays and beige, primarily. Some might also like neutrals as a simple backdrop for eclectic accessories or colorful furniture you want to really pop. To add depth and texture to your walls, or if you have a larger room, don’t be afraid to choose a more vibrant color. If you’re looking for your hue to set a certain mood, check out Country Living to see which colors create the right ambience for you.
- Once you’ve picked out a color – or two or three or seven – get a sample and paint a swatch on your wall. Let it dry and then check it out both in the daytime and at night. See how the light plays with the colors to be sure you’ll love how it looks in real life.
- Whether you opt for greige or coral, pay attention to the sheen. How flat or glossy your paint is can have as big an impact as the color itself. As Freshome explains, high-gloss paints are easy to clean and can stand up to wear and tear better than other sheens or finishes. However, if you want to hide imperfections in your walls, flat or matte finishes might be your best bet. Eggshell offers a bit of both worlds.
Preparation is key
- Just like when choosing door hardware, quality matters when it comes to painting tools. You want them to help you do the job right, so it’s worth paying for the right equipment. You’ll regret buying the cheapest brushes and rollers you can find when they leave streaky coverage and you have to put yet another coat of paint on the wall. Not sure what you need? Family Handyman has a nice list of the 12 painting tools every homeowner should have.
- Step one of preparing your walls is to clean them. Get rid of the dirt and grease that will keep new paint from bonding to the wall. Family Handyman offers more great advice, suggesting trisodium phosphate to clean nearly any grime off nearly any surface. It can also etch wood surfaces, which can help paint adhere later on. Just be sure to wear rubber gloves.
- Repair cracks or holes in your walls to improve structural integrity and reduce the chances of seeing imperfections when you paint, especially if you chose a high-gloss sheen. Do this even if you’re priming your walls. Primer covers up your repair jobs, not the flaws.
Go in order
- We’d love to tell you what order to paint your room – walls or trims first. There’s no consensus on this front, but we’re partial to trim, then ceilings and finally walls. When you paint the trim first, simply tape off or cover the floor and if you splash on the walls, there’s nothing to worry about. You’ll simply paint over it later with your wall color.
- You’re going to need both brushes and paint rollers when you paint an entire room – the brush for cutting in around baseboards, trim, windows, doors and ceilings, and a roller for everything else. Start with the brush work. You’ll be able to smooth out any brush strokes left behind when you roll later, says Freshome.
Bonus tips
- Use WD-40 on your roller handle before you start. Even if you like to paint, you’ll loathe a squeaky roller.
- Especially if you’re painting a large area, consider a paint extender. This add-in will keep the paint wetter longer, which can reduce the appearance of streaks and lap marks.
- Remove tape when paint is still wet. Otherwise, you could end up taking part of the paint job with you when you peel it off glass or trims. Remove the tape slowly and at a 45-degree angle.
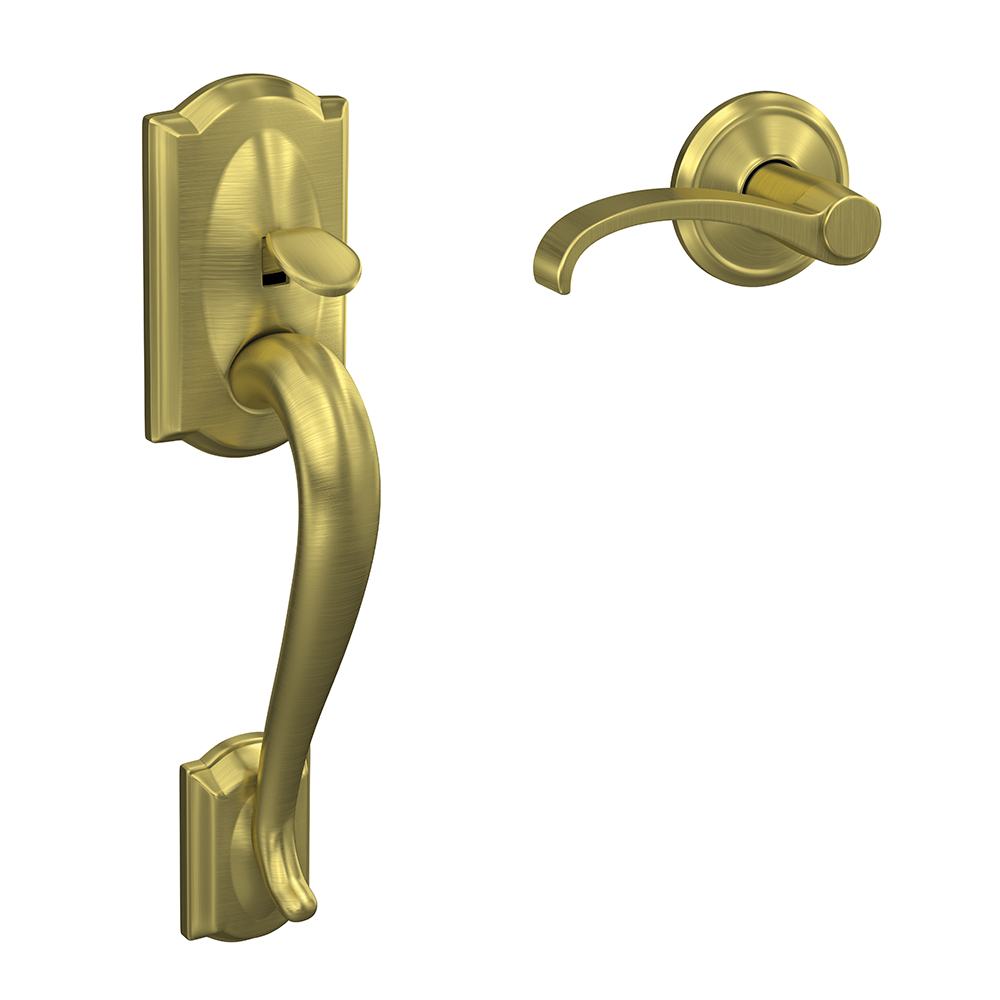
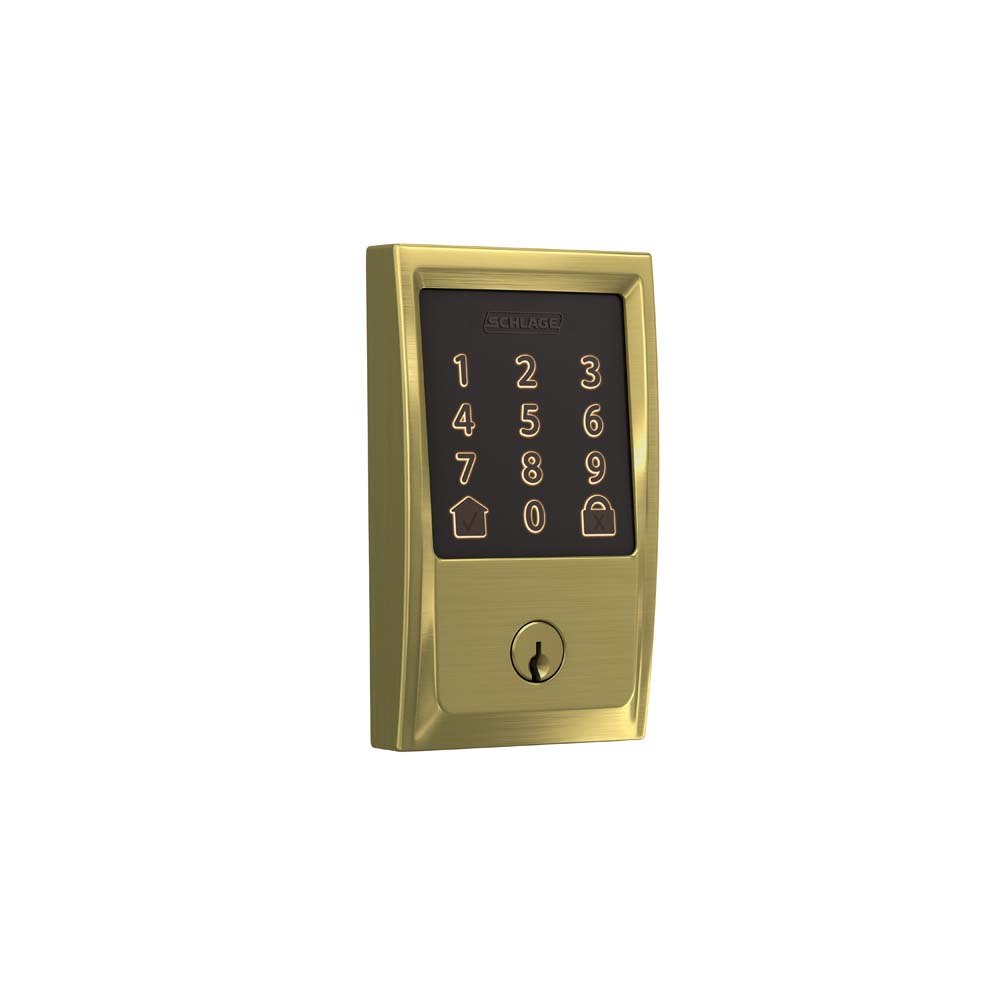
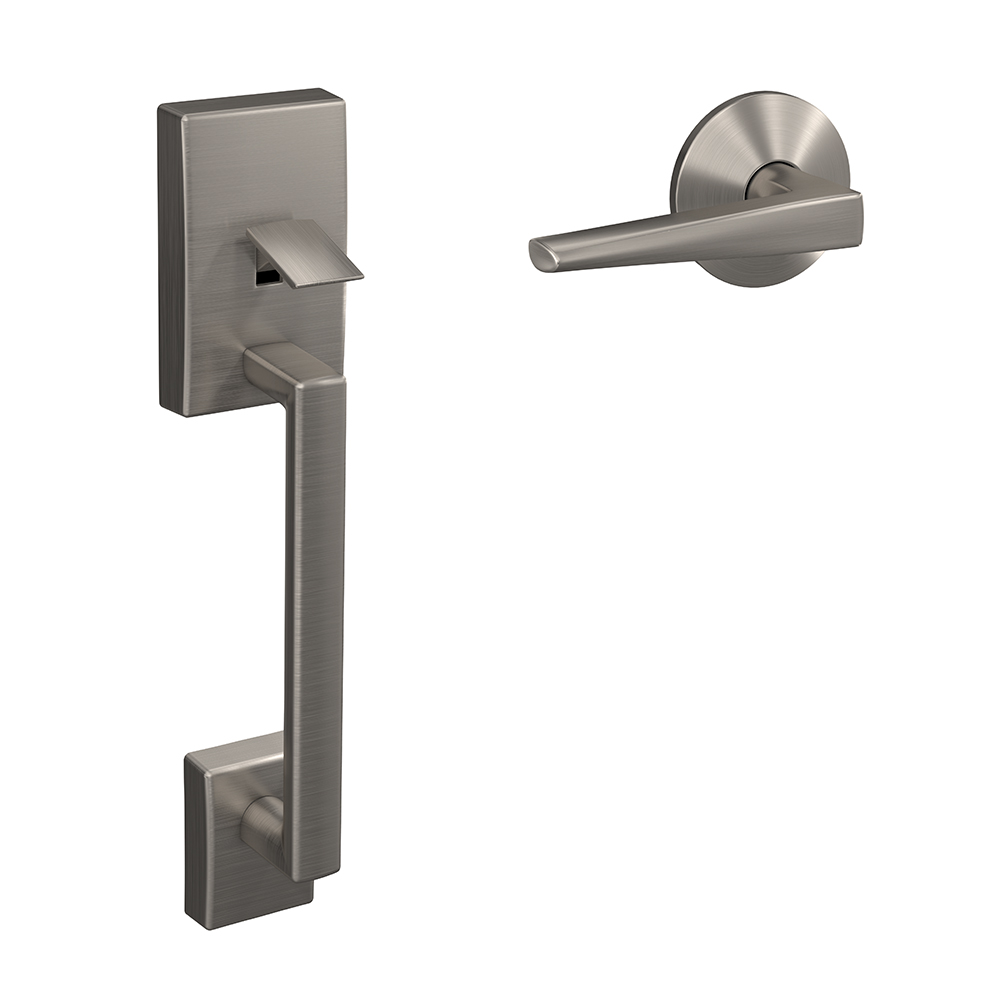
If you removed faceplates and other fixtures from the room before painting, now is a good time to decide if you want to replace them. A new wall color sometimes calls for an update to your accessories. Schlage offers door hardware in a variety of styles and finishes, letting you create a unique look for your room. A small change like a new door knob or lever can make a big statement to your overall décor. Try our Style Selector Tool or find us on Pinterest to find the looks that’s right for your updated room.