
How to properly install door knobs and levers.
Tuesday, September 27, 2022

Here are all the steps you need to follow to properly install a door knob or lever in just a few minutes.
Updating your interior door knobs and levers is the perfect project to take on when every detail matters for your home. Coordinating a new style and finish with your lighting, plumbing and other décor is an easy way to give your home a finishing touch. And with the right durability and security, it also can help you protect what matters most. Fortunately, door hardware installation is one of the simplest DIY projects.
Before we get to the step-by-step guide, be sure your door is properly drilled and aligned with this door prep checklist.
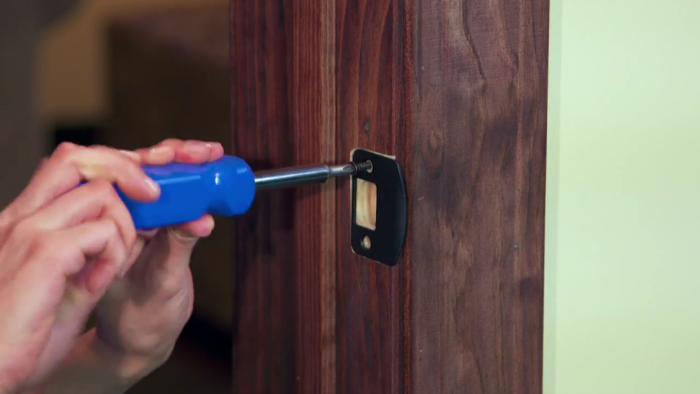
Next, gather your door hardware installation tools. It’s simple – all you need is a tape measure and a screwdriver. Keep in mind that an electric drill is not recommended for installation as it can easily strip the screws and damage your hardware.

Door lock installation checklist
Now you're ready to get started installing your door knobs or levers. The first step is to ensure you have all the parts. Here's a checklist to help. If there are any terms you don’t understand, check out these definitions for parts of a door lock.
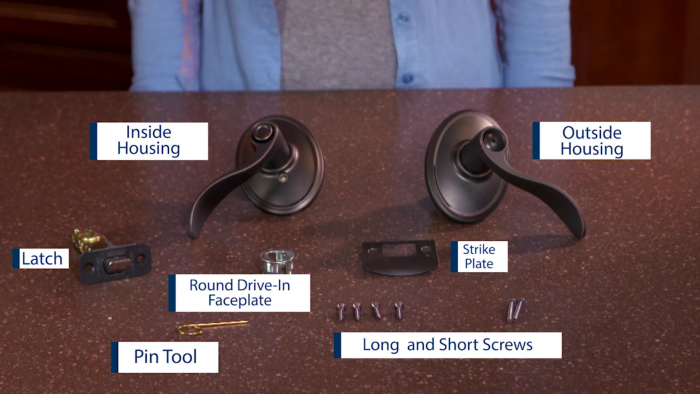
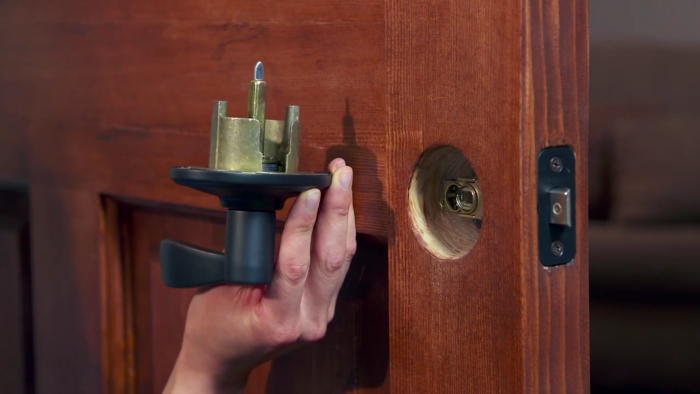
 Outside housing: The "exterior" portion of your hardware with the spindle extending from the back
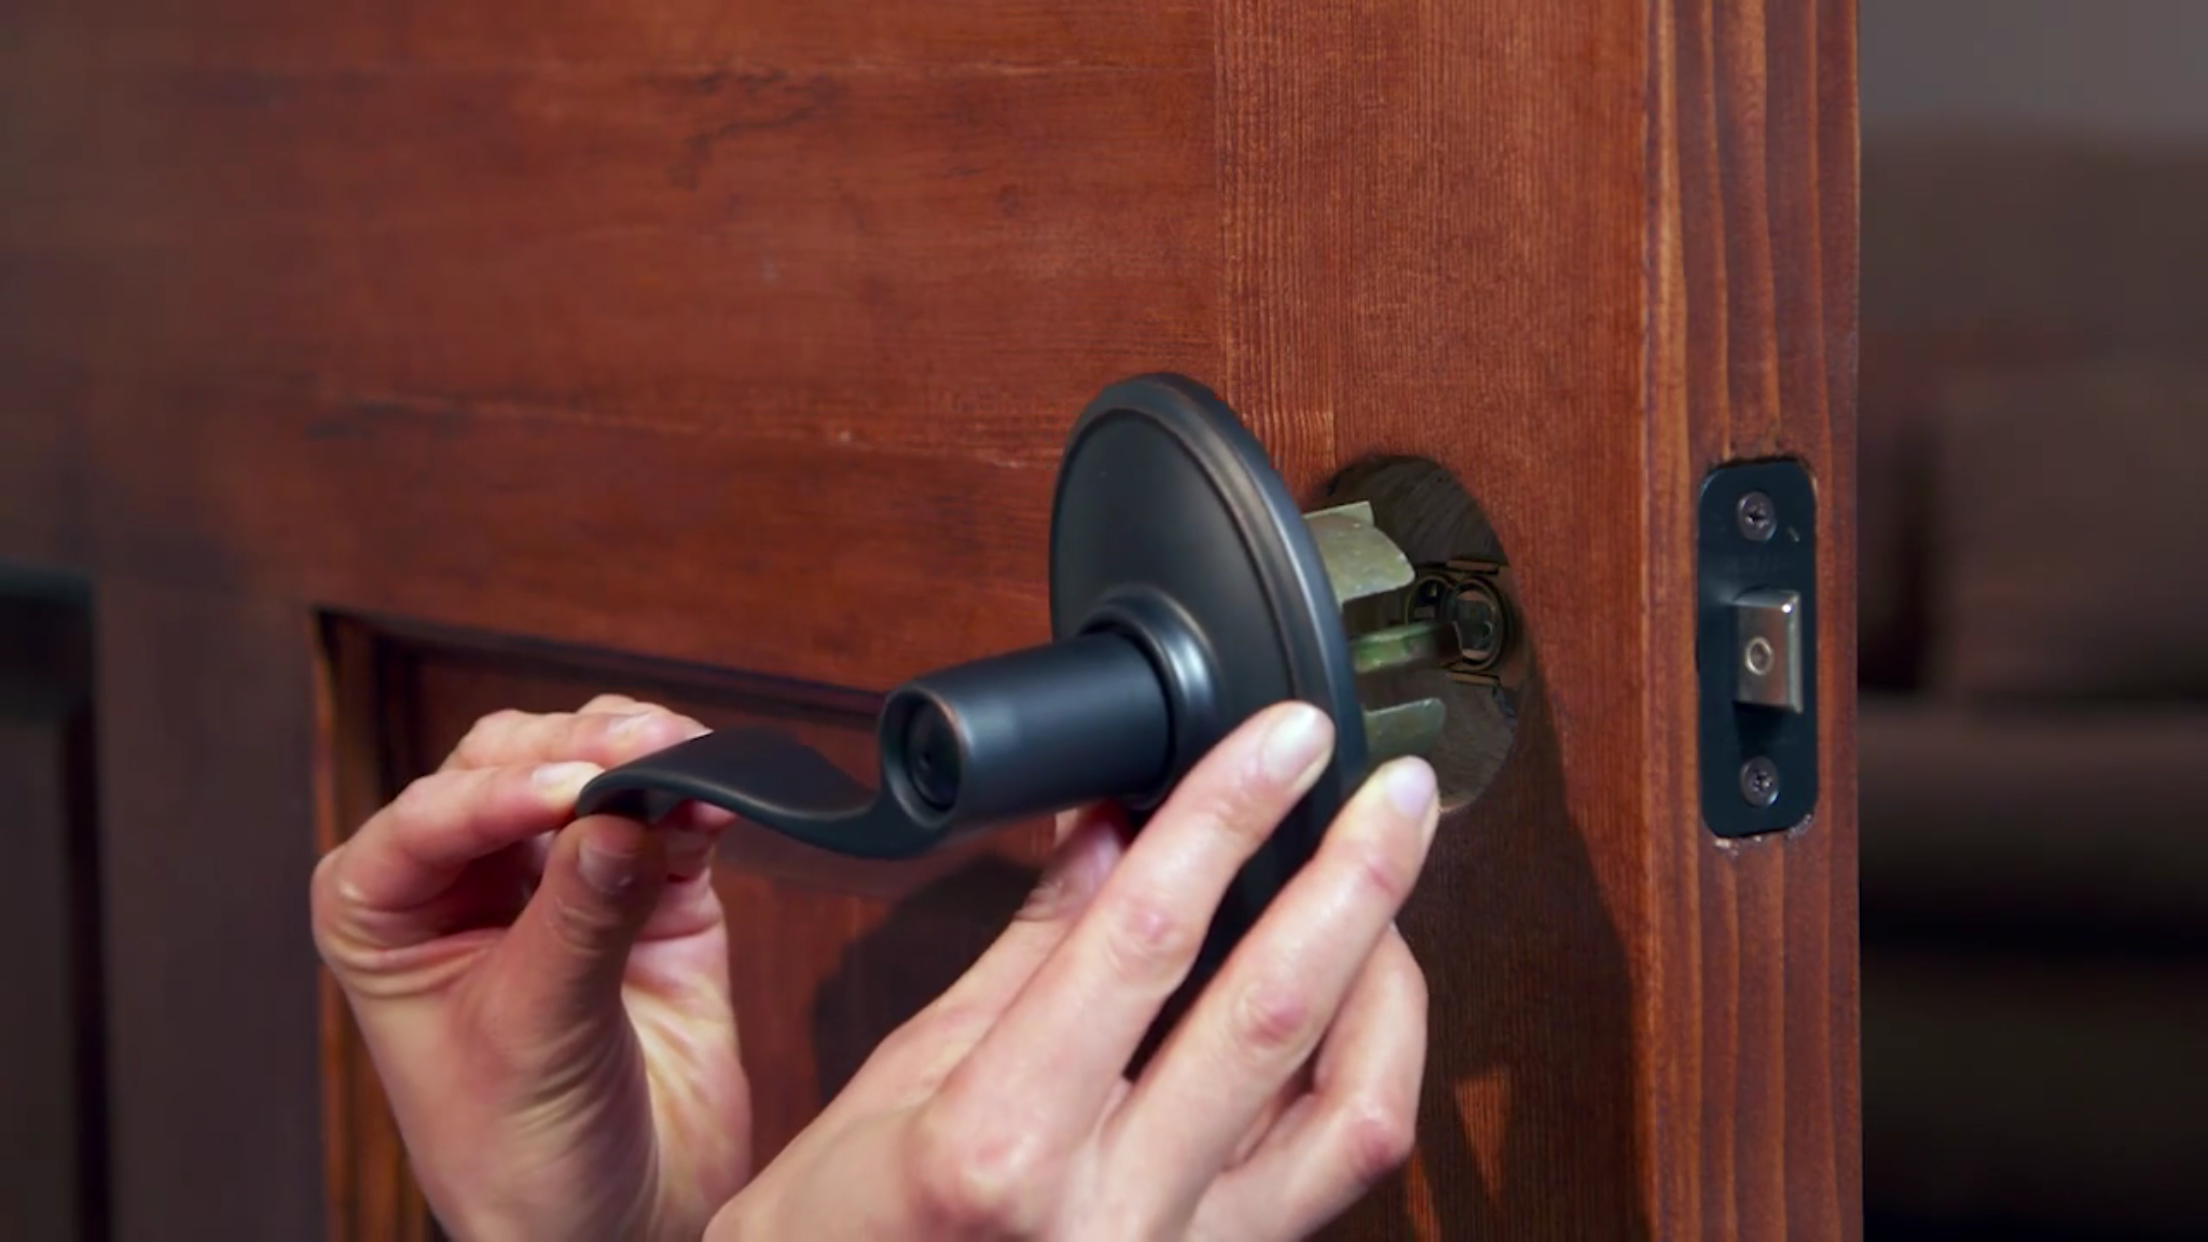
Inside housing: The "interior" portion of your knob or lever. For privacy knobs and levers, you'll want to be sure the push-button lock is on the inside
Latch: The spring-operated bolt with a beveled face to permit a latching action when the door closes
Round drive-in faceplate: An optional faceplate that may replace the rectangular faceplate already attached to the latch if your door calls for it
Strike plate: The metal plate that will be affixed to the door frame
Short screws: Used to secure the latch and faceplate to the door
Tapered long screws: Used to secure the inside housing to the outside housing
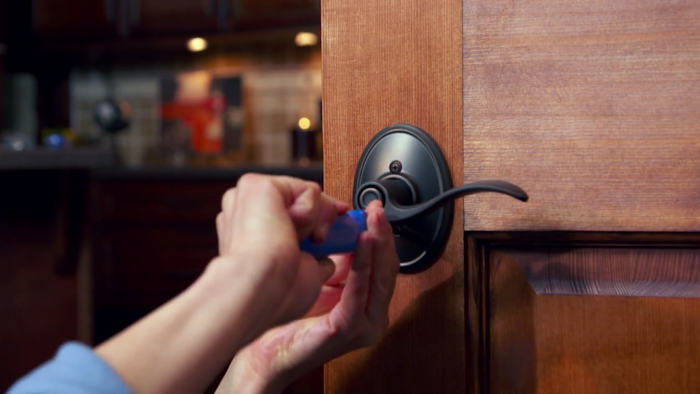
Pin tool: Used only for installing lever door handles that are curved and may need to change handing
Door Knob and Lever Installation instructions
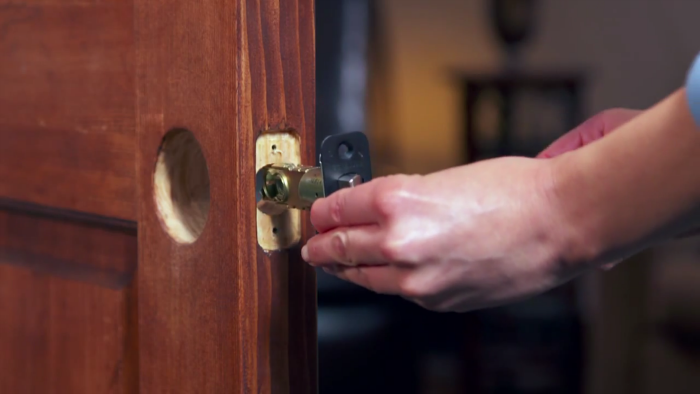
The latch comes with a pre-attached rectangular faceplate. If you’re using the rectangular faceplate, continue to Step 2 now.
If you need to replace it with a round drive-in faceplate, follow steps a-c below. You'll need a flat head screwdriver, hammer and block of wood with this setup.
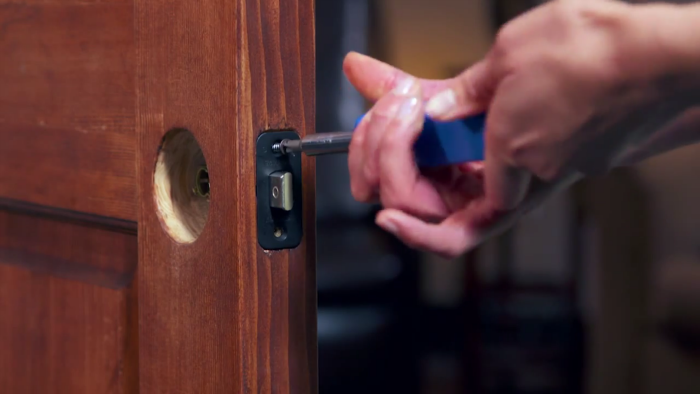
a. Remove faceplate by gently prying it away from the rest of the latch component with a flat head screwdriver.
b. Twist and remove remaining support plate.
c. Install round drive-in faceplate with just a snap.
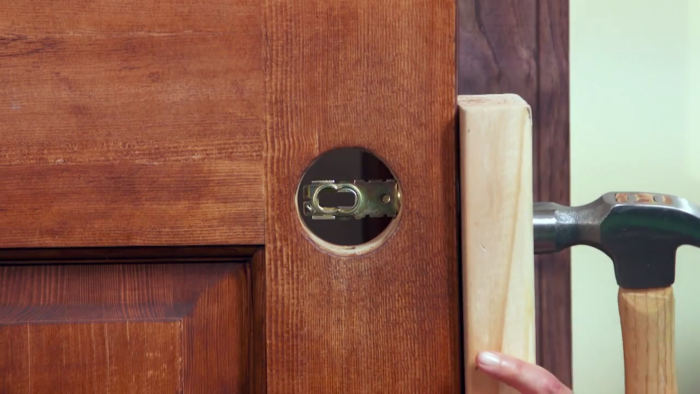
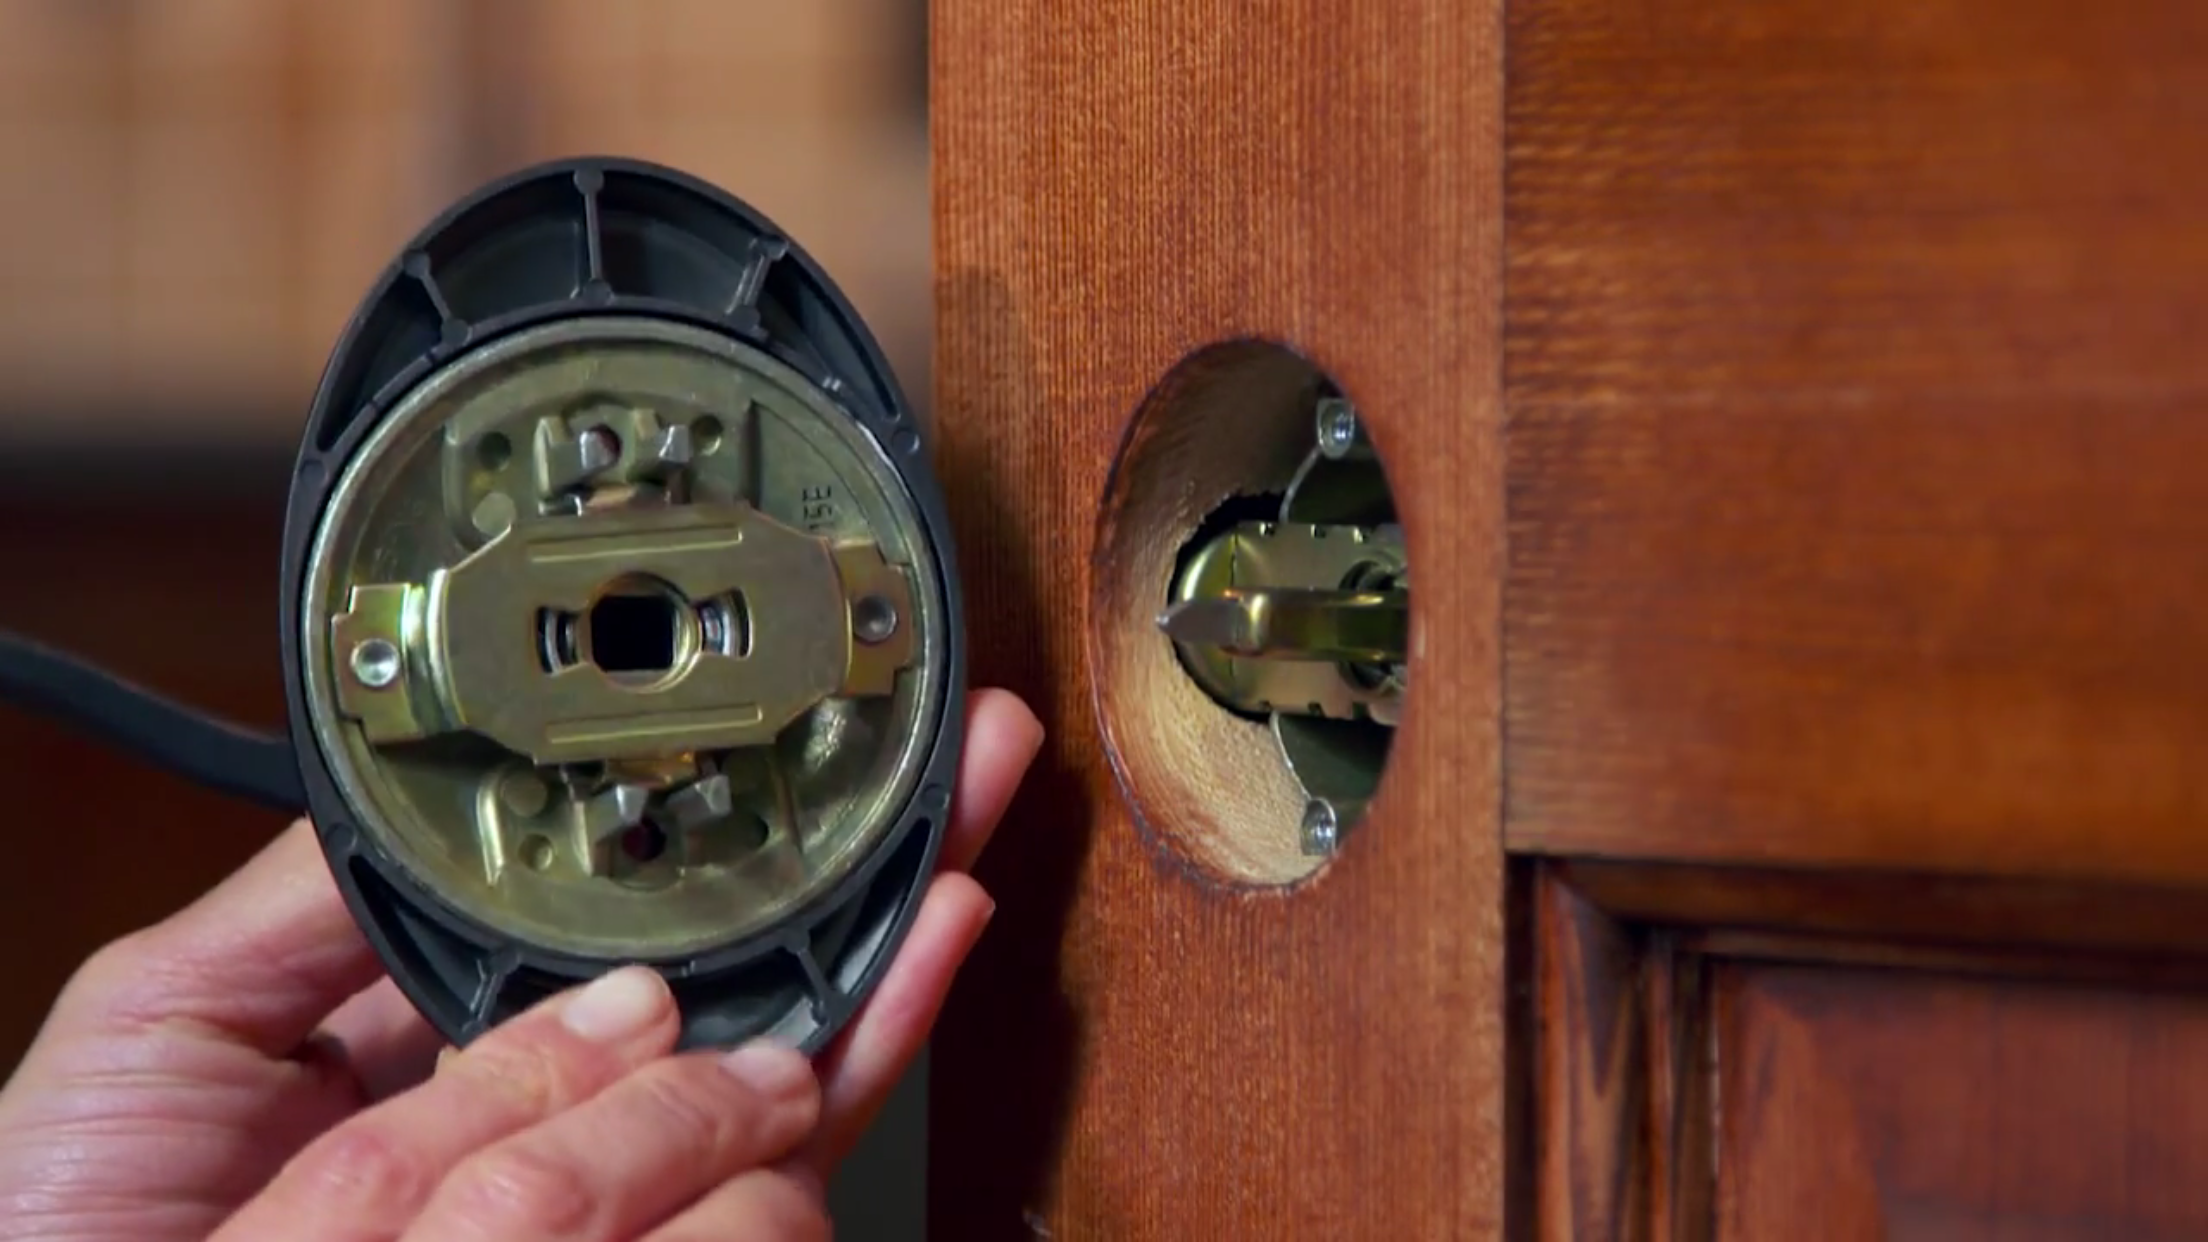
If you’re using the drive-in faceplate, slide the latch into the latch bore with the bevel facing the doorjamb. Gently tap it in to place, using a block of wood to protect the latch, until the faceplate is flush with the door edge.
Find more videos for installing a deadbolt, front door handleset or smart lock at the Schlage How-To Center.


/F10_BWE608_PLY_EXT_SL.jpg)


